How to Fix Extended Network by Wavlink Extender?
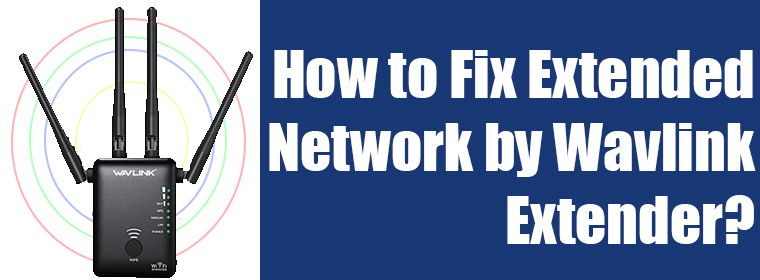
Have you installed a Wavlink WiFi extender to extend the existing network? But you are not happy with its performance. Why don’t you read this post that’s meant to help you learn how to fix extended network by a WiFi extender? This post covers the best possible ways using which you can get a better extended network. We have taken the Wavlink extender as a reference; however, you can use the same remedies even if you own any other WiFi extender.
What’s an Extended Network?
Let’s begin by shedding some light on what an extended network is. If you have a WiFi router that is not sufficient to cover all the parts of the home, then you can install a WiFi extender. A WiFi extender can help you get rid of WiFi dead zones and also extend WiFi range outside the home. The extender simply takes in the signals from the router and extends them further. This widens the coverage range of the router in the home.
But there are chances that the extended network is not so good. You may not get stable signals when connected to your WiFi extender. Read the further section to know how to fix extended network from your Wavlink wireless range extender.
How to Fix Extended Network by a WiFi Extender?
There are various reasons why you can’t get better internet signals from your Wavlink extender. You need to apply the suggestions given ahead one by one and see if the problem is resolved or not.
1. Go For a LAN Connection
The WiFi extender gets its input signals from the internet router. The connection between these two devices must be well in place if you want to get better signals from the extender. Although you can connect the devices wirelessly, we suggest you make a LAN connection.
The reason is, a wired connection is always more reliable and better than a wireless connection. The chances of signal disconnections and interruptions are reduced by using a LAN cable.
Therefore, get hold of a LAN cable and use it to join the Wavlink extender and the main router. You will see a drastic improvement in the network now.
2. Prefer 2.4 GHz Over 5 GHz Frequency Band
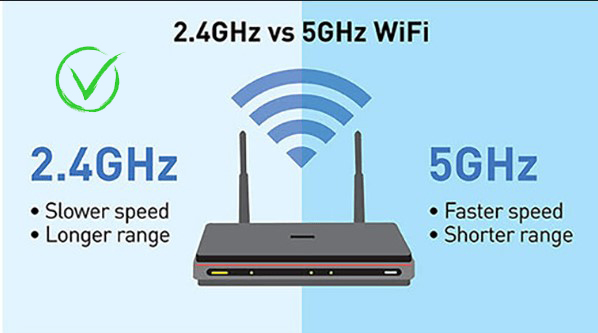
Does the main router support both wireless bands i.e. 2.4 GHz and 5 GHz? We suggest you extend both wireless bands using the extender. Connect the client devices in the home to a 2.4 GHz and not 5 GHz. This is because a 2.4 GHz band can cover a larger area while a 5 GHz covers lesser area. Apart from that, the lower frequency bands are better at penetrating solid objects like walls or other obstacles in the home. Thus connecting the devices to a lower frequency will help you get a better extended network.

3. Avoid Signal Interference
Signal interference is one of the primary reasons why you get unstable internet signals. Every home has certain home appliances such as microwave ovens, refrigerators etc and other networking devices like Bluetooth speakers, smart devices etc. Such devices can cause interference with the WiFi signals thereby affecting the performance. Apart from this, reflexive surfaces and heavy building materials can also hamper the WiFi signals.
If you are making a wireless connection between the main router and the Wavlink extender, then avoid placing them far from any of the devices discussed above to avoid signal interference.
4. Get Timely Updates Done
Firmware updates on the Wavlink extender and the main router also play a vital role in enhancing the WiFi performance. Ensure timely updates for both devices so that you can keep getting better signals. Use the wifi.wavlink.com login page to log in and get your Wavlink extender updated. Log in to the main router’s interface to update its firmware.
Conclusion
This is all about how to fix extended network from your WiFi extender. We expect that you’re getting better signals from your Wavlink WiFi range extender after you have applied the changes discussed in this post. With this hope, we conclude our helpful and informative blog post here.
