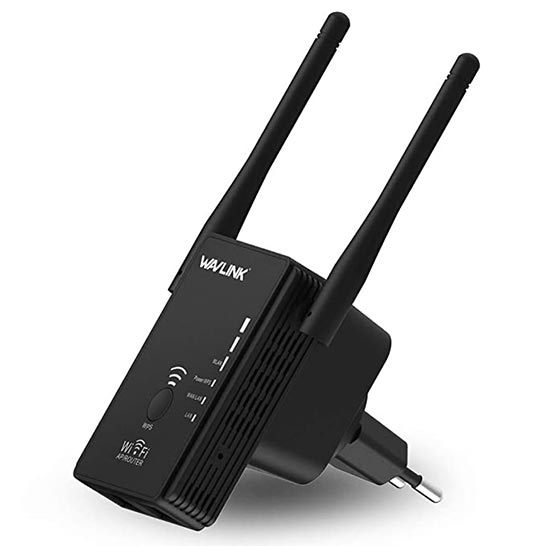
Wavlink 300Mbps WiFi range extender is one of the most amazing products offered by Wavlink to its users. Due to its sleek design and advanced security features, it became the first choice among users when it comes to extending their WiFi signals throughout their house or workplace. It uses MIMO technology that allows users to connect to more WiFi-enabled devices with lag-free internet speed. Wavlink WiFi Range Extender is a user-friendly device as compared to any other model. And users don’t need deep technical knowledge to set up Wavlink 300Mbps WiFi Range Extender. But still, users find difficulty and come across Extender setup issues. If you are also getting issues, then here we have provided you with detailed information to perform the Wavlink Extender setup without any trouble.
You can perform Wavlink 300Mbps Setup using two methods.
With the help of this aforementioned information, you can easily set up the Wavlink range extender without any hurdles. If you find any issue while executing the above-mentioned steps, then don’t hesitate to contact our customer support team for instant solutions.
The Wavlink 300Mbps WiFi range extender default login URL i.e. http://ap.setup is needed to perform the extender setup using the web browser. Here, we have provided a step-by-step procedure to complete the Setup via a web browser without any issues.
In this way, you can set up Wavlink extender using the web browser. If any technical hurdles restrict you to perform setup, get in touch with our IT professionals for instant solutions.
Users without technical knowledge may run into minor technical issues that prevent them from setting up the Wavlink WiFi range extender. So, in order to keep things easy, we’ve come up with a few basic troubleshooting hacks for the Setup issues.
Confirm that the Wavlink extender is receiving adequate power from the electrical outlet. Damaged or short-circuited wall sockets can result in a power outage, causing extender setup issues. Apart from that, check the condition of the AC cable, it must be free of wear and tear to work properly.
Due to minor technical issues, you might not be able to set up the extender. So, try rebooting your Wavlink extender. This will fix some minor technical issues.
To avoid any WiFi signal disturbance, keep your WiFi extender away from things like refrigerators, baby monitors, Bluetooth speakers, cordless phones, and other smart home equipment. As these kinds of objects use radio frequency for transmission that can downgrade the performance of your extender.
A reliable internet connection is required for the extender to function properly. If your devices are connected via a wired connection, then make sure there are no signs of cuts in the Ethernet cable. Otherwise, you’ll be stuck with a problem. Check that your extender is receiving correct WiFi signals while using a wireless connection. If that doesn’t work, try relocating your Wavlink device near your home router.
Note: To restrict any connectivity issues, use a cable connection while performing the setup process and ensure that your devices don’t have any loose connections.
After following these troubleshooting tips, you’ll be able to perform Wavlink extender setup in an easy way.
Always use the most recent firmware. Otherwise, you’ll most likely get stuck with a problem while using extender. If you’re not familiar with how to upgrade the Wavlink extender firmware then, in the following section, we have provided the detailed information; just have a peek at it.
Well done, you have successfully upgraded the Wavlink 300Mbps WiFi range extender firmware to the latest version. If you need any kind of help in order to resolve any issues, then contact our expert team available 24/7 for your support.
Disclaimer: Wavlinklogin.com is an informational website that helps users to deal with issues related to Wavlink WiFi devices. Any depiction of images, logos, trademarks, and product images are just for informational purposes as we are not involved with any organization or brand. We advise users to use the information given on this website at their own discretion.